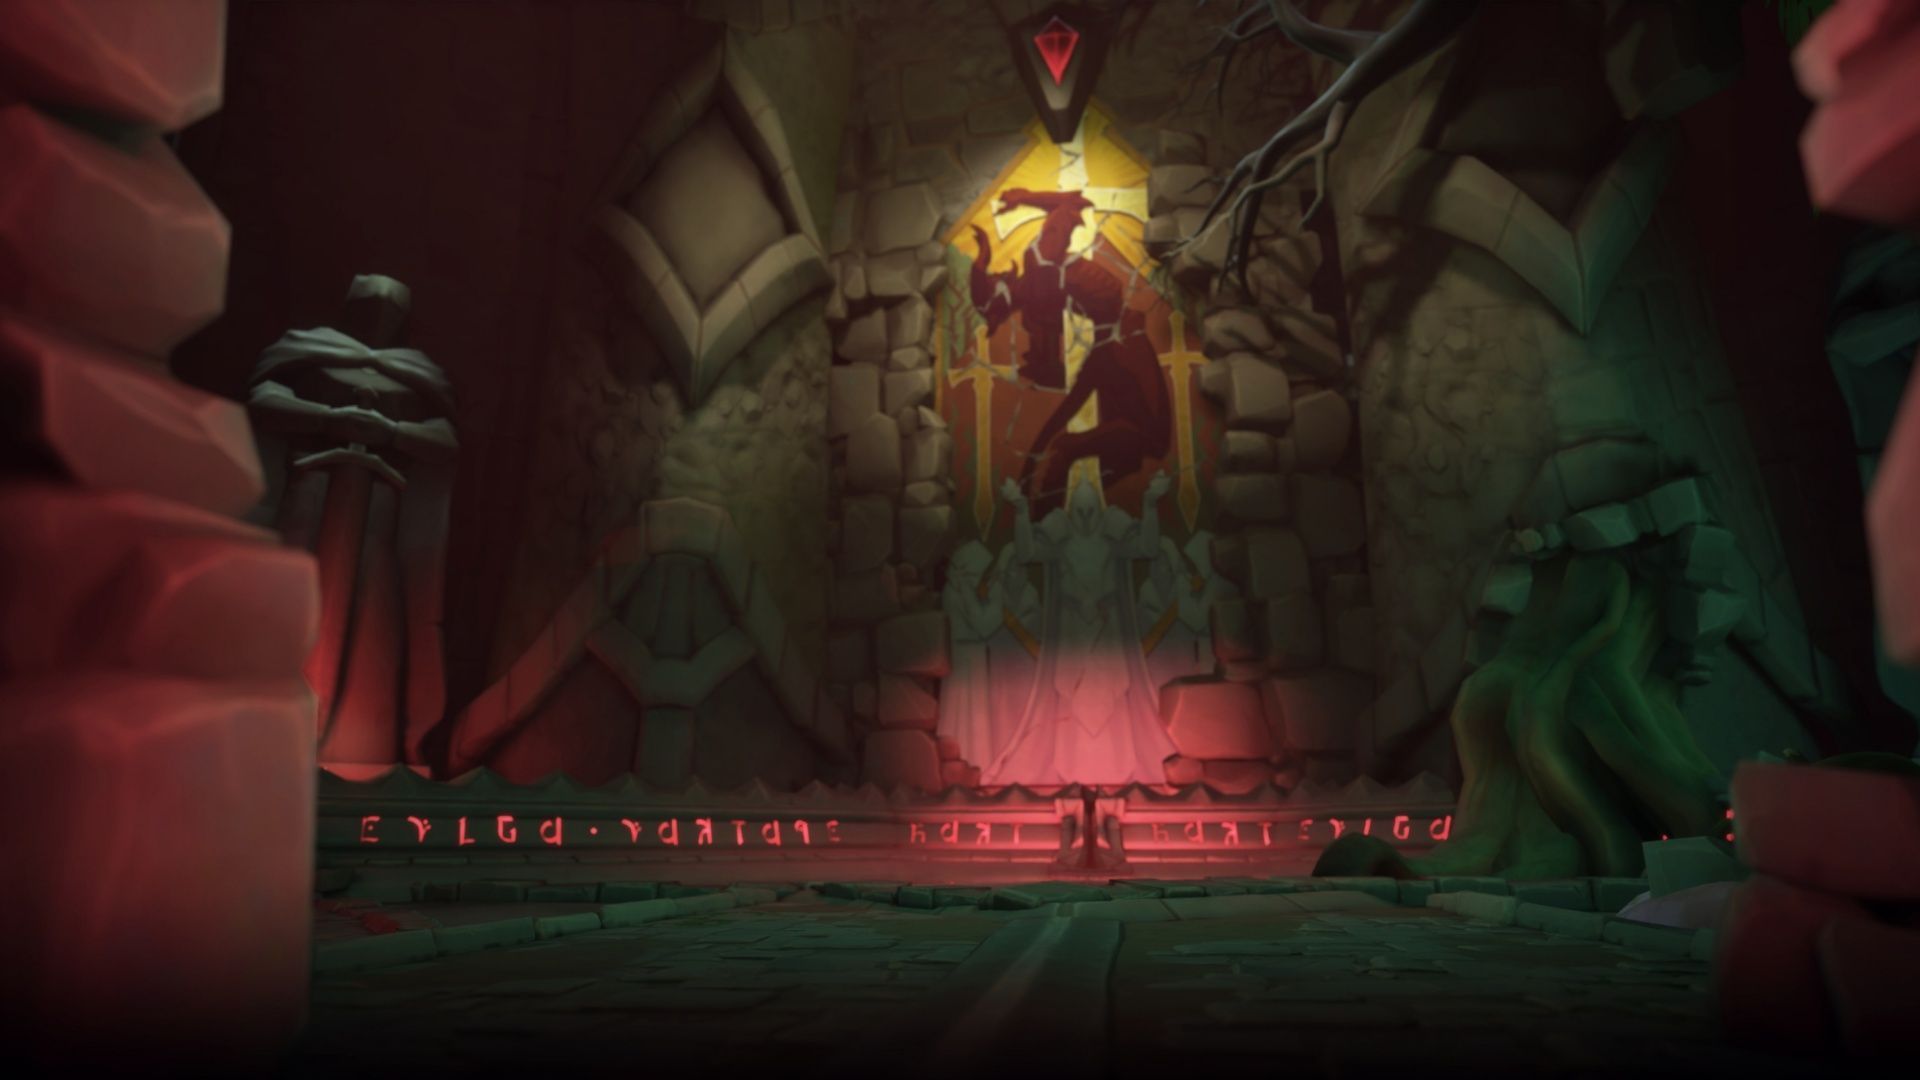
The Heart of Tuzari Dungeon Guide in Fellowship
The Heart of Tuzari is one of the more challenging dungeons in Fellowship, primarily due to the nature of navigating the map. While there is more than one way to route your way through it, your chosen path definitely matters. By lighting braziers, you’ll chart a one-way course through this temple setting, and since you also need to achieve a certain Kill Score within a timer, it’s important to minimize backtracking.
With three bosses and numerous trash pulls, The Heart of Tuzari can be a tough dungeon in Fellowship. However, if you approach it with teamwork and coordination, breaking through to defeat Prophet Ez’rath at the end should be very achievable.
What to Know About The Heart of Tuzari Dungeon Mechanics and Trash Enemies
- Kill Score Requirement: 201
- Timer: 28 minutes
- Primary Dungeon Mechanic: Light braziers to bypass demon walls
- Bosses: Moar’Gore, Master of Sacrifice; Vun’Kahr, the Thorned; Prophet Ez’rath
Most of the dungeon’s trash and mechanics aren’t too overwhelming, but the final boss fight against Prophet Ez’rath can be brutal if you aren’t prepared. Executioner mobs can also pose a threat due to their stacking debuff that becomes dangerous if you fight too many simultaneously. Tanks need to be careful not to face these enemies towards allies to avoid spreading damage.
The core mechanic revolves around lighting braziers to bring down demonic walls, creating a one-way path. This makes it essential to have a clear plan of your route to avoid unnecessary backtracking and wasted time.
Moar’Gore, Master of Sacrifice: Trash Pulls and Mechanics
Trash Enemies:
- Sickle: Uses Throw Dagger, which is unavoidable and randomly targets allies. Avoid pulling too many at once.
- Hellcaller: Interrupt their Restore Vitality spell to prevent healing; also interrupt Demonic Lash. Avoid standing in Armageddon ground circles.
- Mancatcher: Stay within ~15 yards to prevent being Gripped and pulled.
- Bloodfang Raider: Healers should be ready to handle extra healing due to Shred hitting the tank.
- Pillager: Gains haste from Blood Frenzy and a health buff when an ally dies; cleave them down simultaneously.
- Ashen Arsonist: Flame Blast is a cone attack to avoid aiming at the party. Big Oogha Flame applies a damage-over-time (DOT) effect; CC this enemy if possible.
Boss Mechanics:
- Siphon Blood: Moar’Gore channels three (five below 30% health) orbs that ricochet around the room. Orbs hitting players stack a debuff increasing damage taken by 20% per stack. Orbs hitting the boss deal group-wide damage. Only soak orbs with party members, not the tank.
- Hemorrhaging Strike: A powerful strike that also applies a bleed DOT on the tank.
- Sacrificial Pyre: Lights a large portion of the room on fire. Standing in the flames applies a DOT but also removes the Tainted Blood stacking debuff caused by Siphon Blood.
Tips: Tanks should avoid soaking Siphon Blood orbs to reduce incoming damage from Hemorrhaging Strike. Other party members soak the orbs instead, ensuring none hit the boss. Avoid accumulating more than four stacks of the damage debuff. When Sacrificial Pyre activates, avoid the initial explosion but quickly stand in the flames to clear the debuff if necessary.
After defeating Moar’Gore, you can proceed left or right. Generally, going right to face Lashers is faster and easier than the humanoid enemies on the left.
Vun’Kahr, the Thorned Maw: Trash and Boss Mechanics
Trash Enemies:
- Profane Invoker: Casts Shadow Bolt on the tank; CC is advised. Wither DOT can be CCed or dispelled.
- Slaughtervine: Passive until stepped on. Reflects 10% of damage taken due to Thorns; be ready with heals.
- Barbarous Lasher: Cannot be CCed; uses Crush Armor to reduce tank’s armor by 10%. Reflects 25% damage with Thorns effect.
- Nightmist Cutthroat: Can teleport for Backstab; tanks must reposition accordingly.
- Executioner: Cannot be CCed; hits harder as health lowers and applies stacking cleave damage debuff. Avoid pulling many at once.
- Initiate: Throws daggers; be cautious about group pulls.
- Hulking Bulgore: Cannot be CCed; charges (Impale) if attacked outside melee range. Enrages at 50% health, increasing damage and haste.
Boss Mechanics:
- Legion of Vun’Kahr: Spawn seedlings that turn into Dormant Slaughtervines unless stood upon. Always stand on these to prevent vines spawning.
- Raise Terrorvines: Summons Barbed Roots that must be gathered by the tank for tank-and-spank. One root needs immediate CC to interrupt Toxic Spore.
- Fangroot Snap: Tank buster cleave; tanks should use defensive cooldowns and melee should avoid cleave radius.
- Thornmother’s Slumber: Boss becomes vulnerable to increased damage and triggers any Dormant Slaughtervines.
This fight requires a lot of movement and soaking mechanics, resembling a Final Fantasy XIV-style encounter. Managing the Dormant Slaughtervines by standing on their spawn points is critical to reduce damage. Proper CC, interrupts, and positioning are necessary to survive and succeed.
Prophet Ez’rath: The Final Boss Mechanics
There are no new enemy types after Vun’Kahr, but Prophet Ez’rath is the most challenging boss and a common stumbling block. Below are his main mechanics:
- Dark Malice: Creates a damaging circle on the ground that will instantly kill players inside after the cast completes.
- Ez’Rath’s Chosen: Summons sacrifices that march toward the Demonic Pit. If they reach it, the entire party takes a stacking DOT.
- Abyssal Nexus: Four beams rotate from the Demonic Pit, dealing heavy damage to any player caught in their path.
- Wicked Hook: Randomly hooks a player or sacrifice, dealing damage and applying a slow.
Critical Tips: Do not touch the Demonic Pit—it slows players and applies a 100% damage debuff. Tanks must keep Prophet Ez’rath away from the Pit to prevent him from gaining a damage buff.
When Ez’Rath’s Chosen summons appear, the tank should gather and AOE them down quickly to prevent multiple stacks of the party-wide DOT. Corpses spawn rotating laser beams, so stay mobile to avoid damage.
Dark Malice deals lethal damage to anyone caught inside its circle, so awareness and positioning are key. If targeted by Wicked Hook, players can use sacrifices as shields by running behind them, redirecting the hook. Tanks should try to soak Wicked Hook if possible, while using defensives.
At 50% health, the Abyssal Nexus activates, turning the fight into a DPS race. Constant movement is required to avoid beams while continuing to manage sacrifices. Use all available healing, attack, and defensive cooldowns to burn down the boss before DOT stacks overwhelm your group.
Potential Item Drops from The Heart of Tuzari
Clearing The Heart of Tuzari rewards you with progressively better gear, enabling you to tackle tougher challenges in Fellowship. The following loot can drop in this dungeon:
- Necklaces & Talismans: Bloodrite Chain, Bloodwarden Lariat, Bloodwarden Locket, Bloodwarden Talisman, Feathered Collar, Godbrand Amulet, Godbrand Festoon, Godbrand Pendant, Godbrand Talisman, Godbrand Torc, Hellbinder Pendant, Hellbinder Talisman, Imp Tooth Necklace, Profaned Pendant, Sacrificial Initiate’s Lariat, Sulfurized Festoon, Warding Amulet
- Rings: Blood Ruby Seal, Bloodstone Band, Demon Claw Ring, Execration Ring, Loop of Shed Demonskin, Ring of Unnatural Fire, Sickle’s Loop of Ardor
- Wrists: Bracers of Hatred (Plate), Infernal Bracers (Cloth), Oracle Wristwraps (Cloth), Sacral Vambraces (Plate), Sacrificial Cuffs (Plate)
Attributes on these items generally feature combinations of Stamina, Haste, Expertise, Crit Strike, Spirit, Strength, Intellect, and set bonuses such as Dark Prophecy.
Explore More Fellowship Guides and Features
- Fellowship: Ardeos Build Guide
- Fellowship: Tariq Build and Hero Guide
- Every Mount in Fellowship and How to Unlock Them
- Fellowship: Sylvie Build and Hero Guide
With this detailed guide, you’ll be well-prepared to conquer The Heart of Tuzari and secure precious loot as you progress in Fellowship. Good luck!
https://www.sportskeeda.com/mmo/fellowship-the-heart-tuzari-dungeon-guide