Category Archives: warframe

Steel Path Nokko build in Warframe – Invisible Mushroom King

The Best Nokko Build in Warframe

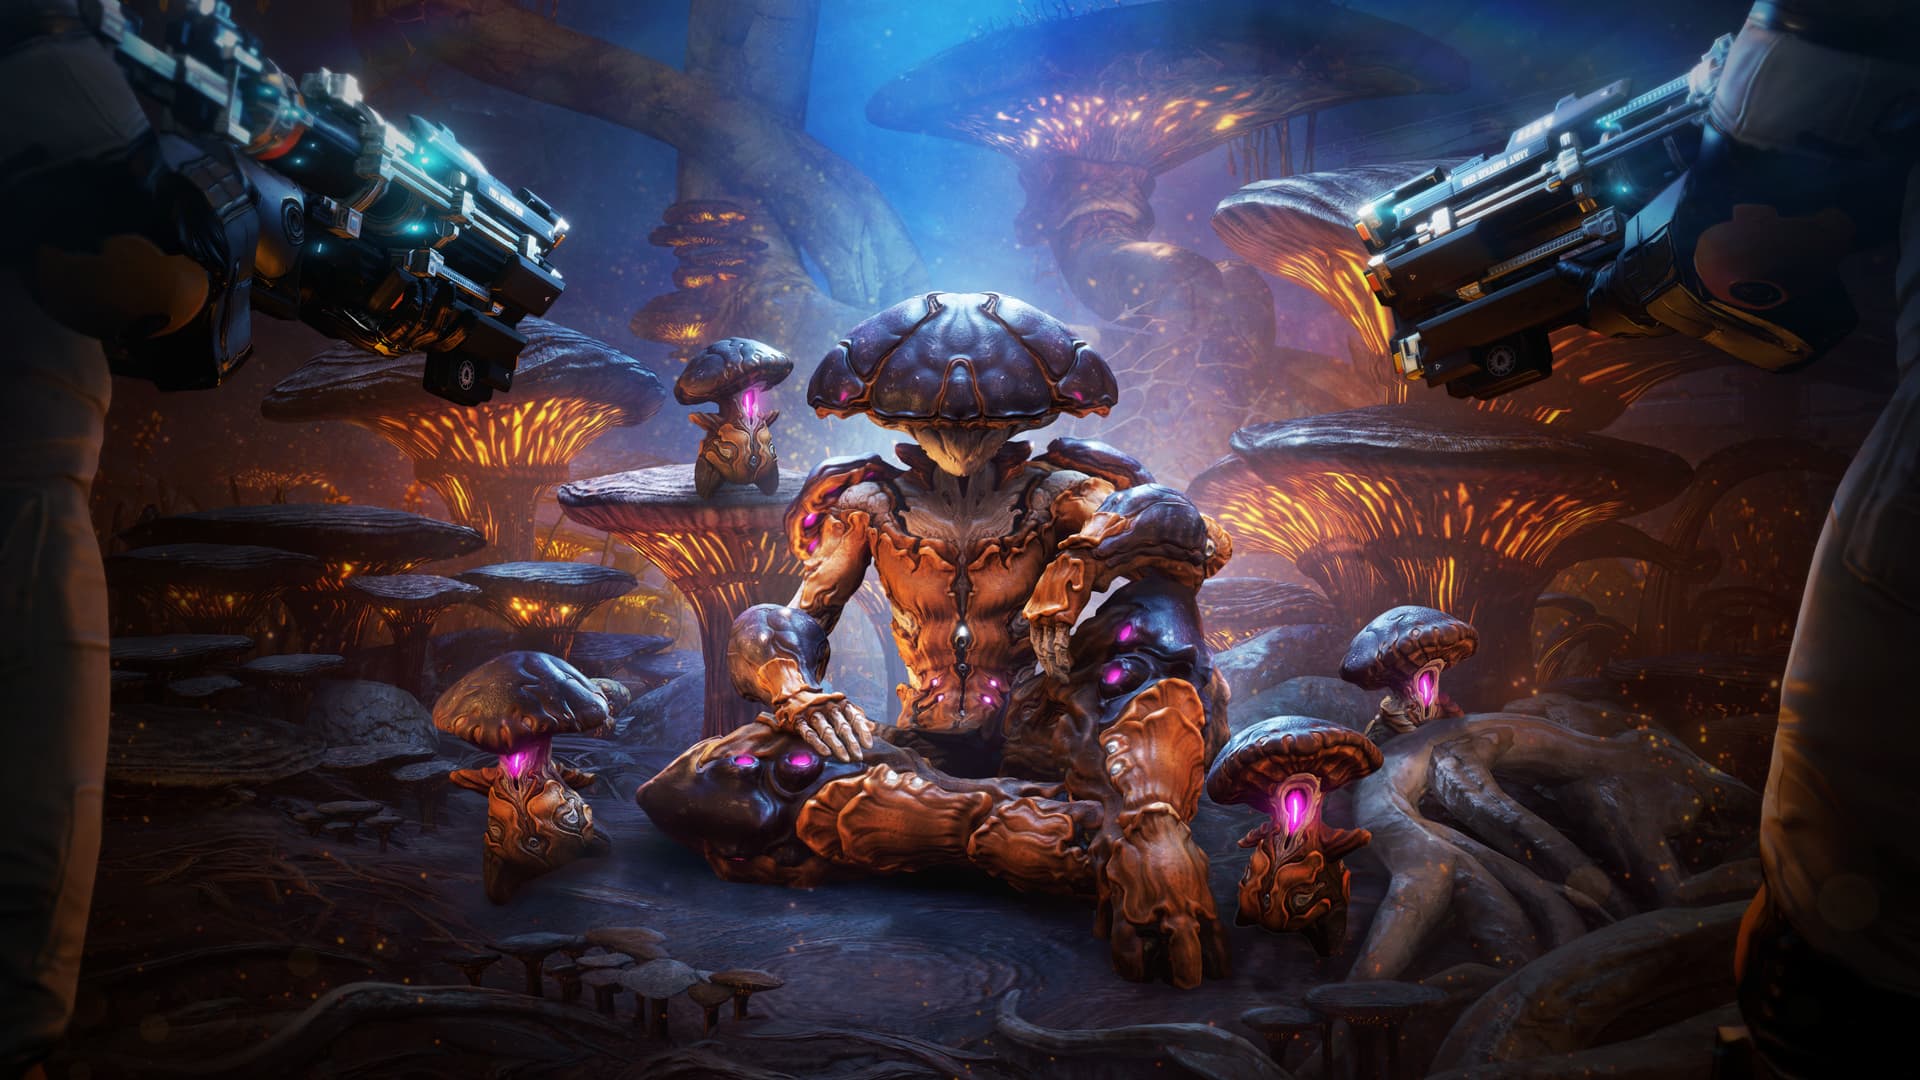
Nokko is the newest Warframe added to the game, offering a unique combination of damage, area control, and survivability through his kit. While more testing is needed at the highest difficulty levels Warframe offers, this build will comfortably get you through the standard Star Chart and Steel Path content.

Nokko’s Abilities Overview

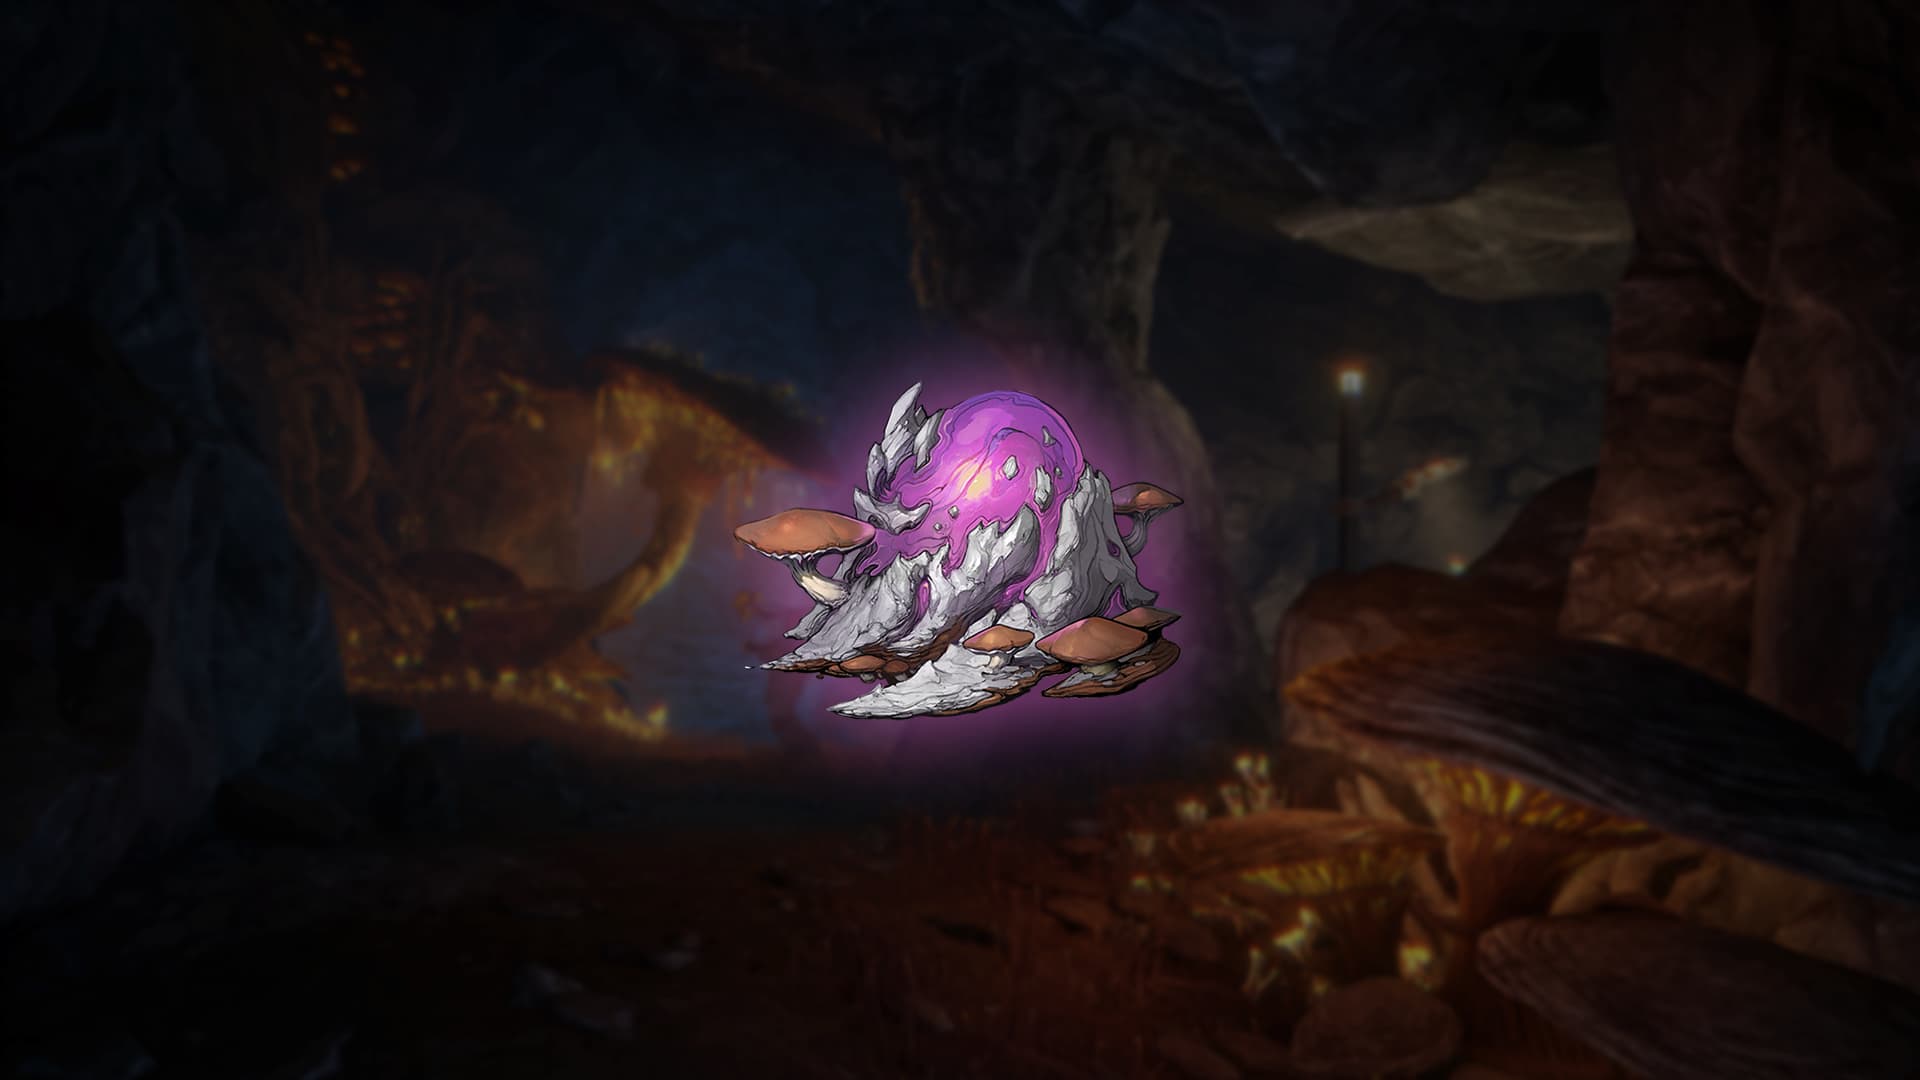
Nokko’s passive allows him to avoid fatal damage. When reduced to zero HP, Nokko turns into a small mushroom and gains a brief window to reach one of the previously placed mushrooms. If successful, he will reform and continue fighting.

  • First Ability: Places mushrooms that spew viral-damaging spores.
  • Second Ability: Acts as an energy source and boosts ability strength.
  • Third Ability: Transforms Nokko into a tiny mushroom, granting a quick heal, invulnerability, a speed boost, and puts nearby enemies to sleep.
  • Fourth Ability: Unleashes an enemy-seeking mushroom that explodes on contact, bounces between enemies, and can also bounce off previously placed mushrooms for damage buffs.

From this kit, it’s clear that the Nokko meta is to establish a stronghold—camping in one spot and leveraging overlapping areas of effect for maximum efficiency.

Recommended Arcanes and Companion

  • Arcanes: Molt Augmented and Arcane Crepuscular both provide substantial ability strength.
  • Companion: Shade or Huras Kubrow are ideal, as their Invisibility complements Arcane Crepuscular, keeping you safe while active.
  • Subsume Ability: Use Roar on Nokko’s third ability to amplify effects.
  • Arcane Shards: Carry a single yellow/Tauforged Yellow shard for starting energy.

Core Mods

  • Dreamer’s Bond / Corrosive Projection: Choose based on preference. Dreamer’s Bond offers better team play, while Corrosive Projection helps if you’re struggling with enemy armor.
  • Umbral Intensify: Provides a significant damage boost, forming a strong base for damage output.
  • Stretch: +45% Ability Range—essential for maximizing this build’s effectiveness.
  • Augur Message: Extends ability duration; a valuable bonus that complements your playstyle.
  • Primed Continuity: Greatly increases ability duration, a vital stat for Nokko’s kit.
  • Augur Secrets: Further boosts ability strength.
  • Primed Flow: Vastly enlarges the energy pool, allowing you to spam abilities freely, especially useful in Void Cascade missions.
  • Overextended: Adds even more range at the cost of some strength, which is offset by your Arcanes and Subsume mods.
  • Streamline: Flexible slot—use it according to your preferred augment or subsume. For example, if experimenting with different subsumes like Tempest or Sonar, this slot can adapt accordingly.

Exilus Slot

Cunning Drift adds more ability range, which synergizes perfectly with Nokko’s playstyle.

Playstyle Tips

Your goal with this build is to arrive at your holding point, activate Roar on your third ability (which lasts around 50 seconds), then place two of your second ability mushrooms to overlap and double the buff. Next, deploy four of your first ability mushrooms around entrances and exits to control the area. From here, sit back and spam your fourth ability.

Always aim to keep three enemy-seeking mushrooms active, refreshing your abilities as necessary. The fourth ability can deal surprisingly high damage thanks to its critical hit potential.

I have successfully tested this build in Steel Path missions, long Arbitrations, and Void Cascade runs, making it a very reliable and safe choice for challenging content. With your passive and mushrooms providing safety nets, you can focus on damage and crowd control without worry. In fact, it’s rare for enemies to survive long enough to threaten you significantly.

https://www.shacknews.com/article/146356/best-nokko-build-warframe

How to get Fergolyte in Warframe

How to Get Fergolyte in Warframe

Fergolyte is a new resource introduced in Warframe with The Vallis Undermind update. This valuable material is essential for crafting a variety of items in the update, including the new Warframe and weapons. If you want to progress efficiently, you’ll want to collect plenty of Fergolyte.

Obtaining Fergolyte through Deepmines Bounties

The primary way to earn Fergolyte is by completing the new Deepmines Bounties available in Orb Vallis. To get started, head to Fortuna. Upon logging in, turn to the left where you’ll notice a vent covered in mushrooms. Interact with this vent to enter Nightcap’s room.

Speak with Nightcap to begin undertaking Bounties. Each bounty completion rewards you with between 11 to 15 Fergolyte, while Steel Path bounties offer a higher reward ranging from 15 to 19 Fergolyte.

Alternative Method: Composting Mushrooms

Another way to acquire Fergolyte is by composting fully analyzed mushrooms in Nightcap’s Field Guide. However, this method is slower and unlikely to yield significant amounts of Fergolyte compared to bounty farming.

Recommended Strategy

For the fastest accumulation of Fergolyte, focus on quickly clearing Deepmines Bounties with a full team. This approach will maximize your rewards and help you gather Fergolyte efficiently.

Keep farming, and soon you’ll have all the Fergolyte you need to craft the latest gear in Warframe!

https://www.shacknews.com/article/146363/how-to-get-fergolyte-warframe

How to get Archgun Arcane Adapters in Warframe

With the eternal power creep of Warframe, the massive Archguns have felt a little out of step with the rest of the game. In lore, these colossal weapons are designed to punch holes in spaceships, but in missions, there is rarely a strong reason to switch to them due to performance limitations.

Thankfully, this has now been addressed. Archguns have become a unique weapon class in the game because they can use both Primary and Secondary Arcanes, making them far more viable and versatile in combat.

### How to Get Archgun Arcane Adapters in Warframe

To obtain Archgun Arcane Adapters, you need to visit **Nightcap**, a new NPC introduced in The Vallis Undermind update. You can find Nightcap in Fortuna, but only if you have completed *The New War* quest.

When you spawn in Fortuna, turn left and look for a mushroom- and fungus-covered grate. Nightcap can be found behind this grate, in an area known as **The Airlock**.

Talking to Nightcap allows you to take on bounties in the new area beneath Fortuna. Completing these bounties will earn you Standing, which helps you level up Nightcap’s Syndicate.

Once you reach **Rank 3** in Nightcap’s Syndicate, you can start using **Fegolyte**—a resource gained from his bounties—to purchase Archgun Arcane Adapters.

### Additional Requirements and Tips

Each Arcane Adapter requires a sacrifice when you level it up, so be sure to pay close attention to the specific requirements. You will need to farm different types of mushrooms during your missions in the **Deepmines** to meet these demands.

Furthermore, Archgun Arcane Adapters can also be earned as rewards for bounties in the Deepmines when played on **Steel Path difficulty**. Make sure to check bounty rewards carefully to maximize your chances of acquiring these valuable adapters.

By following these steps, you’ll be able to bolster your Archguns with powerful Arcanes, making them a formidable option once again in your Warframe arsenal.
https://www.shacknews.com/article/146358/how-to-get-archgun-arcane-adapters-warframe

How to farm Ducats fast in Warframe

Ducats are a premium currency in Warframe that players can acquire and spend at the vendor Baro Ki’Teer. Baro visits a random Relay every two weeks, so be sure to check your Navigation menu every second Friday to find out his current location. Ducats can be used to purchase special Mods, exclusive weapons, and even decorations for your Orbiter.

Unlike Credits, getting your hands on Ducats isn’t exactly difficult, but it can be time-consuming. This guide will teach you everything you need to know to farm Ducats as quickly as possible in Warframe.

## How to Farm Ducats in Warframe

The only way to acquire Ducats is by selling Prime blueprints, weapon parts, and crafted Prime Warframe components at the Void Trader’s Kiosk found inside various Relays.

If you want to stock up on Prime blueprints or items, you’ll want to focus on opening Void Relics. To obtain more Void Relics, you need to complete missions. Relics can drop from a variety of mission types, but some missions are particularly good sources, depending on the rarity of relics you require.

### Lith Relics

One of the best places to farm Lith Relics is in the mission **Hepit**, located in the Void. This mission is a super fast Capture mission where you can be in and out in under a minute, especially if you use a fast Warframe. You essentially have a 100% chance of obtaining a Lith Relic here, with only a small chance to receive an Aya relic instead.

### Meso Relics

For Meso Relics, try the Void Capture mission **Ukko**, which gives a good drop chance. Alternatively, you can run the Olympus Disruption mission on Mars, which is another excellent option.

### Neo Relics

For Neo Relics, the Disruption mission **Ur** on Uranus offers drops during Rotations B and C. For newer players, it’s recommended to head to **Xini** on Eris instead. Here you’ll still get Neo Relics, and the mission difficulty is more manageable for beginners.

### Axi Relics

The **Apollo Disruption** mission on Lua is your go-to spot for Axi Relics, available in Rotations B and C.

## Tips for Efficient Relic Farming

For faster relic farming, consider using the in-game Recruiting Chat to find a group of players aiming to open relics at a similar level. Ideally, you will coordinate to open a specific target relic together.

Void Traces are special items obtained in Void Fissure missions. They can be used to refine your relics, increasing the chance of better rewards. Running relics at the same refinement level with your squad further boosts your chances—for rare items worth 100 Ducats, you have four chances to receive the item. This is because you can select rewards from your squadmates’ relics as well as your own.

This cooperative method, commonly referred to by the community as “Radsharing,” is by far the best and fastest way to farm relics specifically for Ducats. As long as you have the required Void Traces and the relic itself, you can join any Radshare group to maximize your farming efficiency.

Even if you lack specific relics or Void Traces, running random relic missions with other players greatly increases your chances of obtaining rare rewards compared to farming solo.

### The Golden Rule: Never Open Relics Alone

Opening relics solo is the slowest method to acquire valuable prime blueprints that can be traded for Ducats. Joining groups or public matches focused on relic runs will make your farming much faster and more rewarding.

If you only have access to random public missions, prioritize running **Ominia Fissure** missions. These allow you to bring any of the four relic types, giving you flexibility and increasing your chances to collect Ducat-worthy Prime parts.

By following this guide and joining forces with other players, you’ll be able to farm Ducats efficiently and make the most of Baro Ki’Teer’s exclusive offers in Warframe. Happy farming!
https://www.shacknews.com/article/112963/how-to-farm-ducats-fast-in-warframe